浅谈nginx服务代理
07 Apr 2025nginx用docker安装
nginx服务安装,我是用docker安装的,mac系统编译nginx源码安装有点问题。
docker pull nginx # 从docker仓库拉取nginx镜像
# nginx目录挂载参考此文章,https://blog.csdn.net/baidu_21349635/article/details/102738972
docker run --name nginx-0807 -v /Users/madong/software/nginx/nginx.conf:/etc/nginx/nginx.conf \
-v /Users/madong/software/nginx/conf.d:/etc/nginx/conf.d \
-v /Users/madong/software/nginx/html:/usr/share/nginx/html \
-v /Users/madong/software/nginx/logs:/var/log/nginx -p 8080:80 -d nginx
# nginx服务验证,curl有返回html内容时,则表示nginx服务启动成功了; /etc/nginx存nginx配置、/usr/share/nginx存在html、/var/log/nginx/存放nginx的access_log
curl 'http://localhost:8080/'
nginx也支持热更新,当修改nginx配置后,可使用nginx -s reload使修改的配置生效,当access.log文件特别大时,可使用nginx -s reopen切割日志。
nginx用源码安装
使用nginx源码包安装,用docker nginx有个明显的问题,那就是nginx.conf中listen不同端口时,容器内端口向外映射很麻烦,所以用源代码装。
步骤可分为以下4步:
- 从
nginx官网下载stable version源码,https://nginx.org/en/download.html; - 由于
nginx有c的代码,所以需下载pcre、openssl和zlib工具,具体可参考文章:https://blog.csdn.net/a1004084857/article/details/128512612; - 解压
nginx zip包,进入解压路径,对nginx进行配置,--prefix指定编译后的nginx二进制文件存放目录,--with-pcre|zlib|openssl分别为工具的解压逻辑;./configure --prefix=/Users/madong/software/c_nginx_1.28.0 \ --with-http_ssl_module \ --with-pcre=./compile/pcre-8.45 \ --with-zlib=./compile/zlib-1.3.1 \ --with-openssl=./compile//openssl-3.0.7 - 配置完成后,执行
make install,则编译后的nginx就会出现在/Users/madong/software/c_nginx_1.28.0这个目录中;
nginx搭建一个静态资源web服务器
nginx源码编译后,会生成conf、html、logs、sbin这几个目录,其分别是:nginx配置、html默认页面、access_log、启动脚本等,启动nginx的脚本:./sbin/nginx。
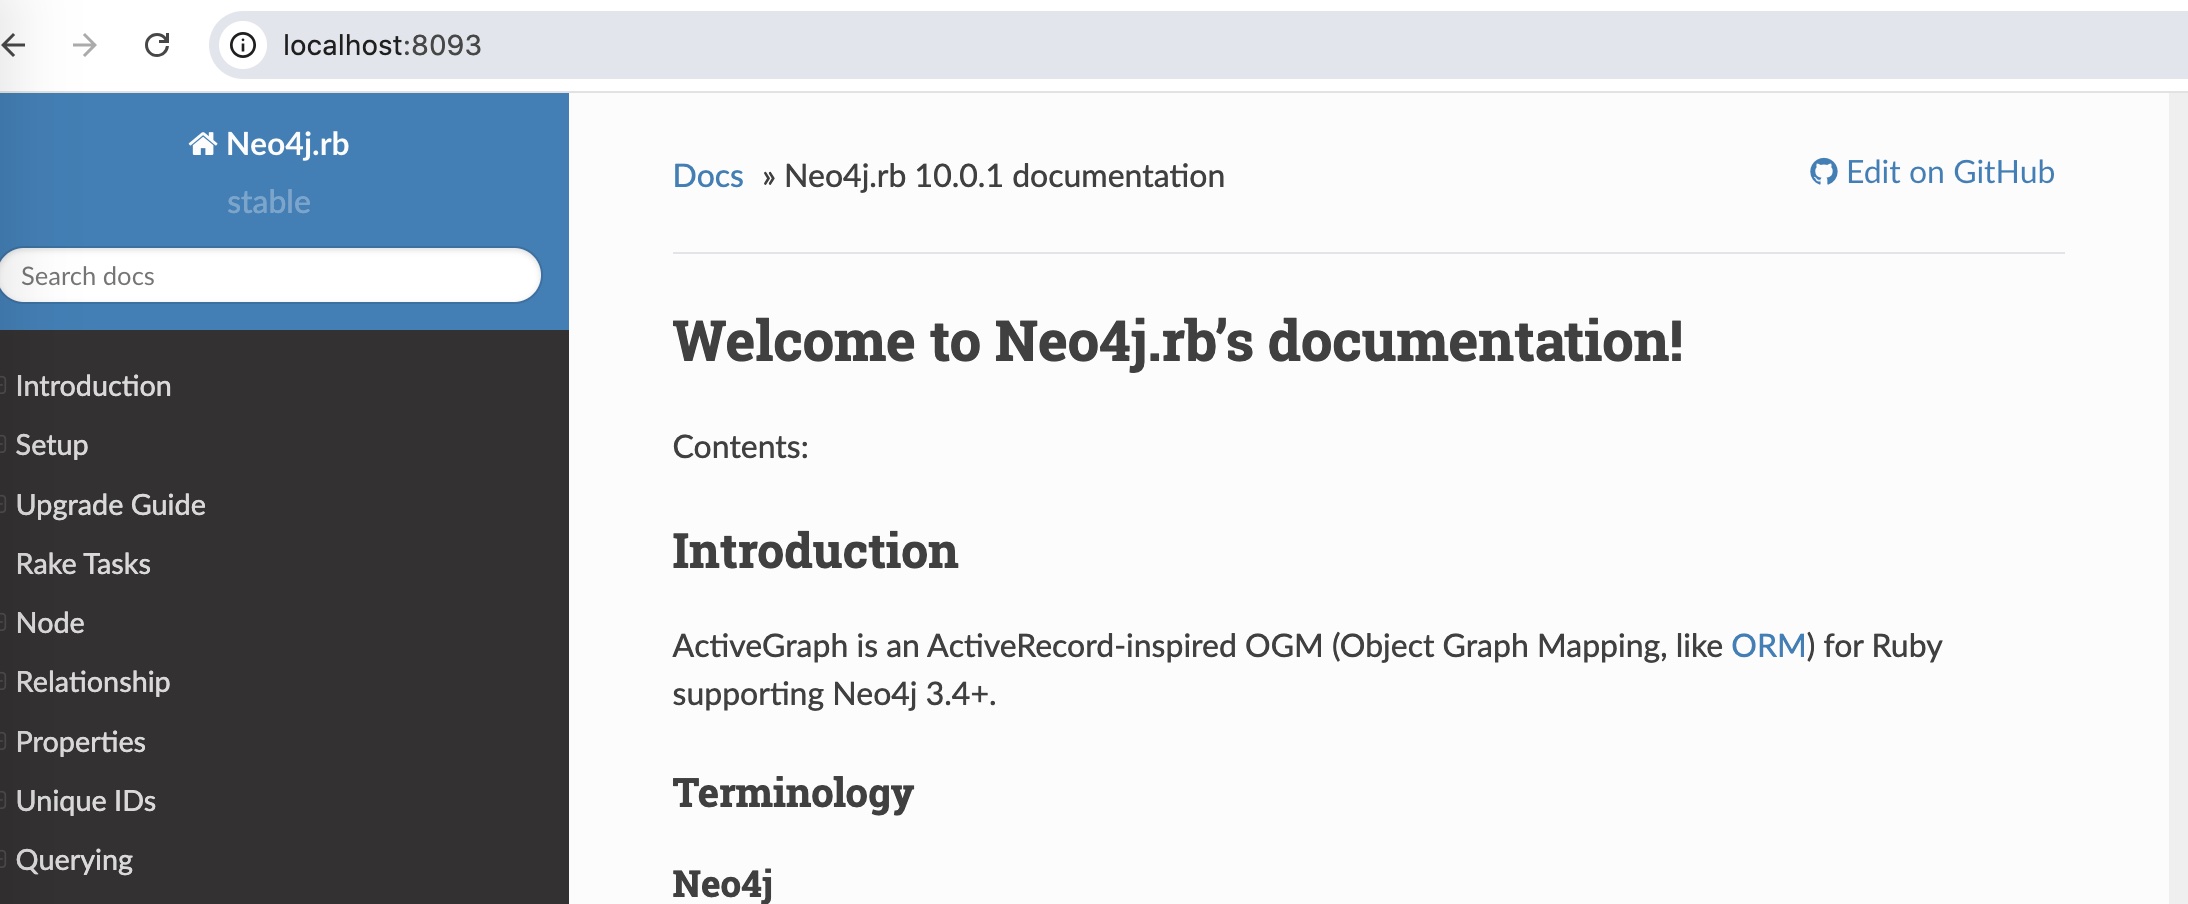
下方的内容是nginx.cnf配置的一部分,在nginx的安装目录下放了neo4j文档,在线文档对应路径为neo4j。配置解释,nginx监听8093端口,location /表示请求url为ip:8093:/时,进入此配置代码块。
server {
    listen       8093;
    location / {
        # autoindex on;
        alias   neo4j/;
        # set $limit_rate 1k; #限制nginx向浏览器发送流量的速度
        # root   html;
        # index nothing; # 禁用inde文件
        index  index.html index.htm;
    }
}
代码配置中有root和alias两个指令,建议用alias(一般用root配根目录,用alias配置一般的路径),打开浏览器,输入http://127.0.0.1:8093/ 就可以访问到静态资源文档,如果想限制浏览器下载资源速度,可设置set $limit_rate 1k;。
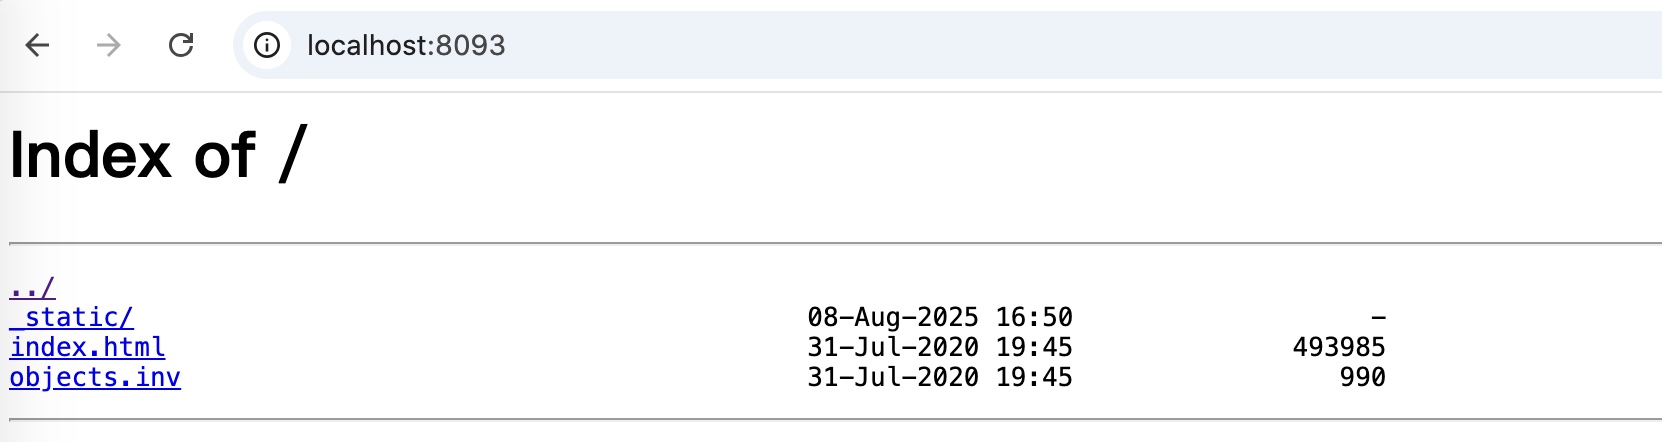
若想将文件目录设置成资源服务器,在配置中打开autoindex on;和index nothing;,需注释index index.html index.htm;,因为即使配置了目录检索,当目录下存在index.html时,默认也是打开index.html。
提升浏览器获取静态资源的速度,在nginx.conf中打开gzip on;,同时也可指定gzip_min_length、gzip_comp_level、gzip_types内容,对静态资源使用gzip进行压缩。
GoAccess实时监控nginx访问
在nginx的logs目录中有请求访问的日志,在location中的配置,首先log_format定义了访问日志的格式,在server中定义了access_log的路径以及应用的格式。
# nginx log日志的格式
log_format  main  '$remote_addr - $remote_user [$time_local] "$request" '
                  '$status $body_bytes_sent "$http_referer" '
                  '"$http_user_agent" "$http_x_forwarded_for"';
server {
    # ...
    access_log  logs/neo4jdoc.access.log  main;
}
从GoAccess网站下载安装包,很奇怪,C相关的应用下载都是源码包,没有针对于特定系统的二进制包,还需安装依赖包libmaxminddb,否则安装时会报错** Missing development files for libmaxminddb library。
从https://github.com/maxmind/libmaxminddb 下载安装包,在本地环境解压,进入到libmaxminddb目录,执行./configure然后执行make install进行安装。然后进入GoAccess安装包的解压目录,执行:./configure --enable-utf8 --enable-geoip=mmdb、make install指令进行安装。
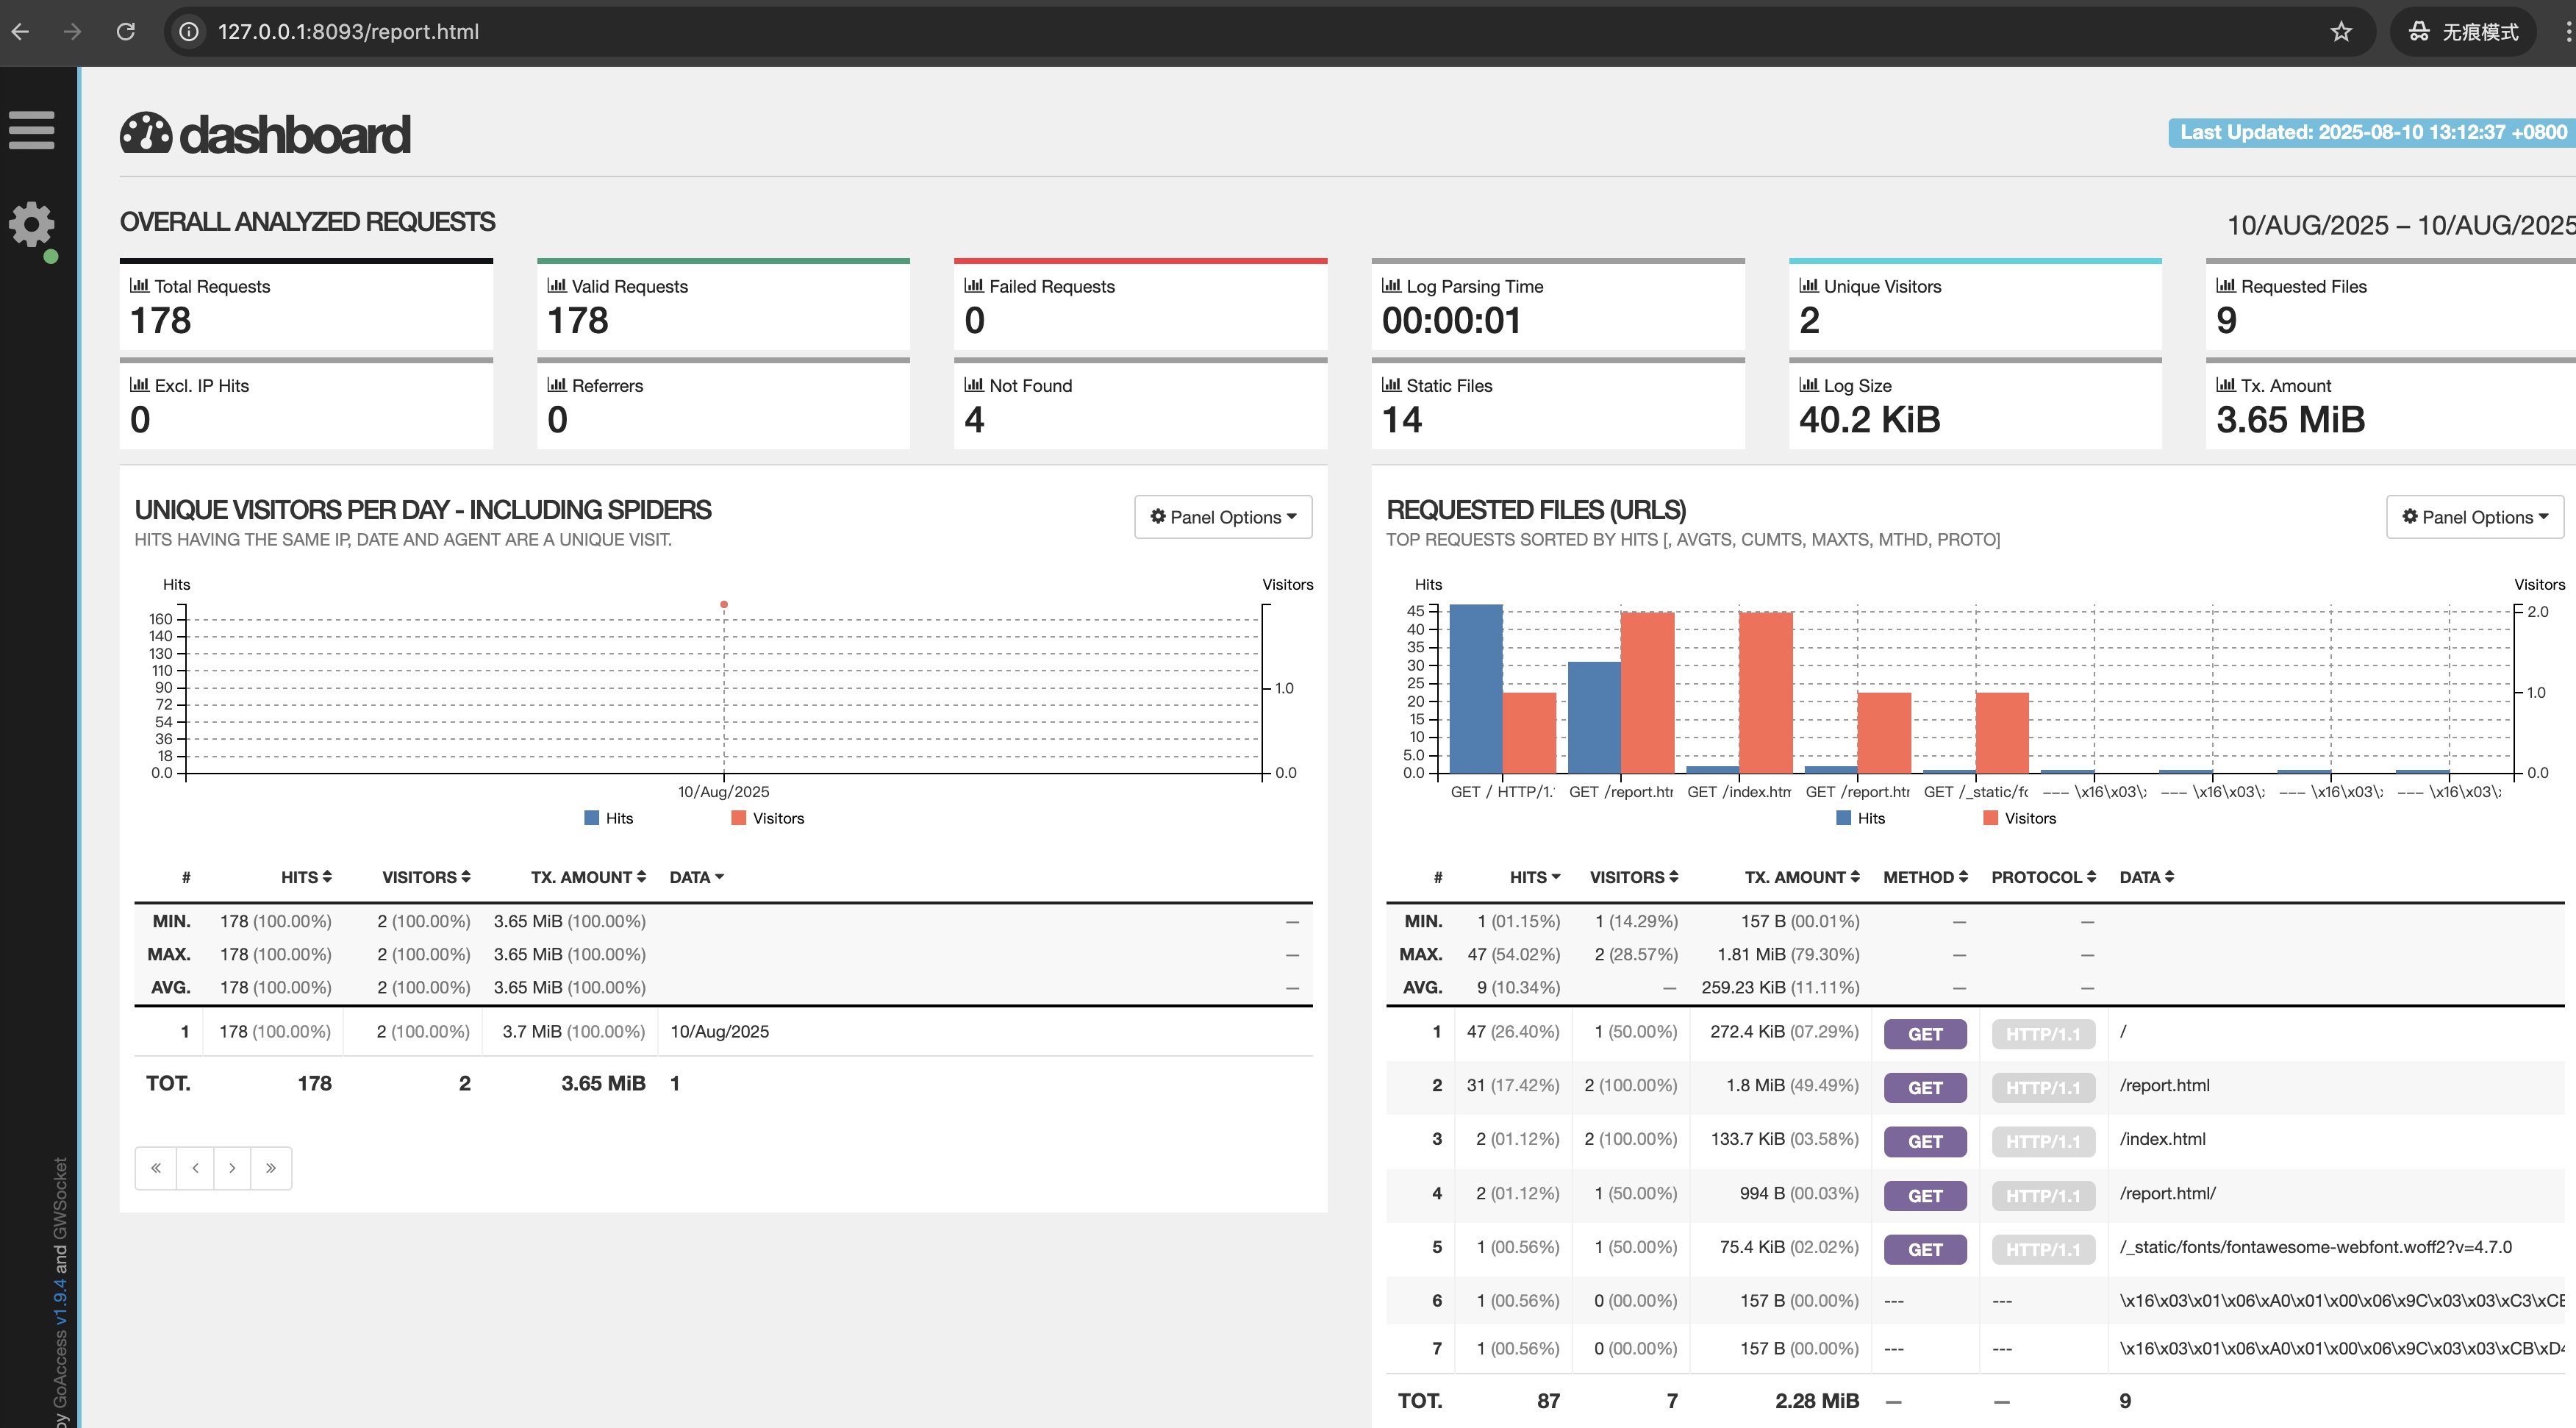
进入nginx的logs目录,执行实时监控命令,生成report.html,同时在nginx.conf配置report.html的路由,以便在浏览器中访问监控页面。
LANG="en_US.UTF-8" LC_TIME="en_US.UTF-8" bash -c 'goaccess neo4jdoc.access.log -o ../html/report.html --real-time-html --log-format=COMBINED'

server {
    #... 对外暴露report.html页面
    location /report.html {
      alias /Users/madong/software/c_nginx_1.28.0/html/report.html;
    }
}
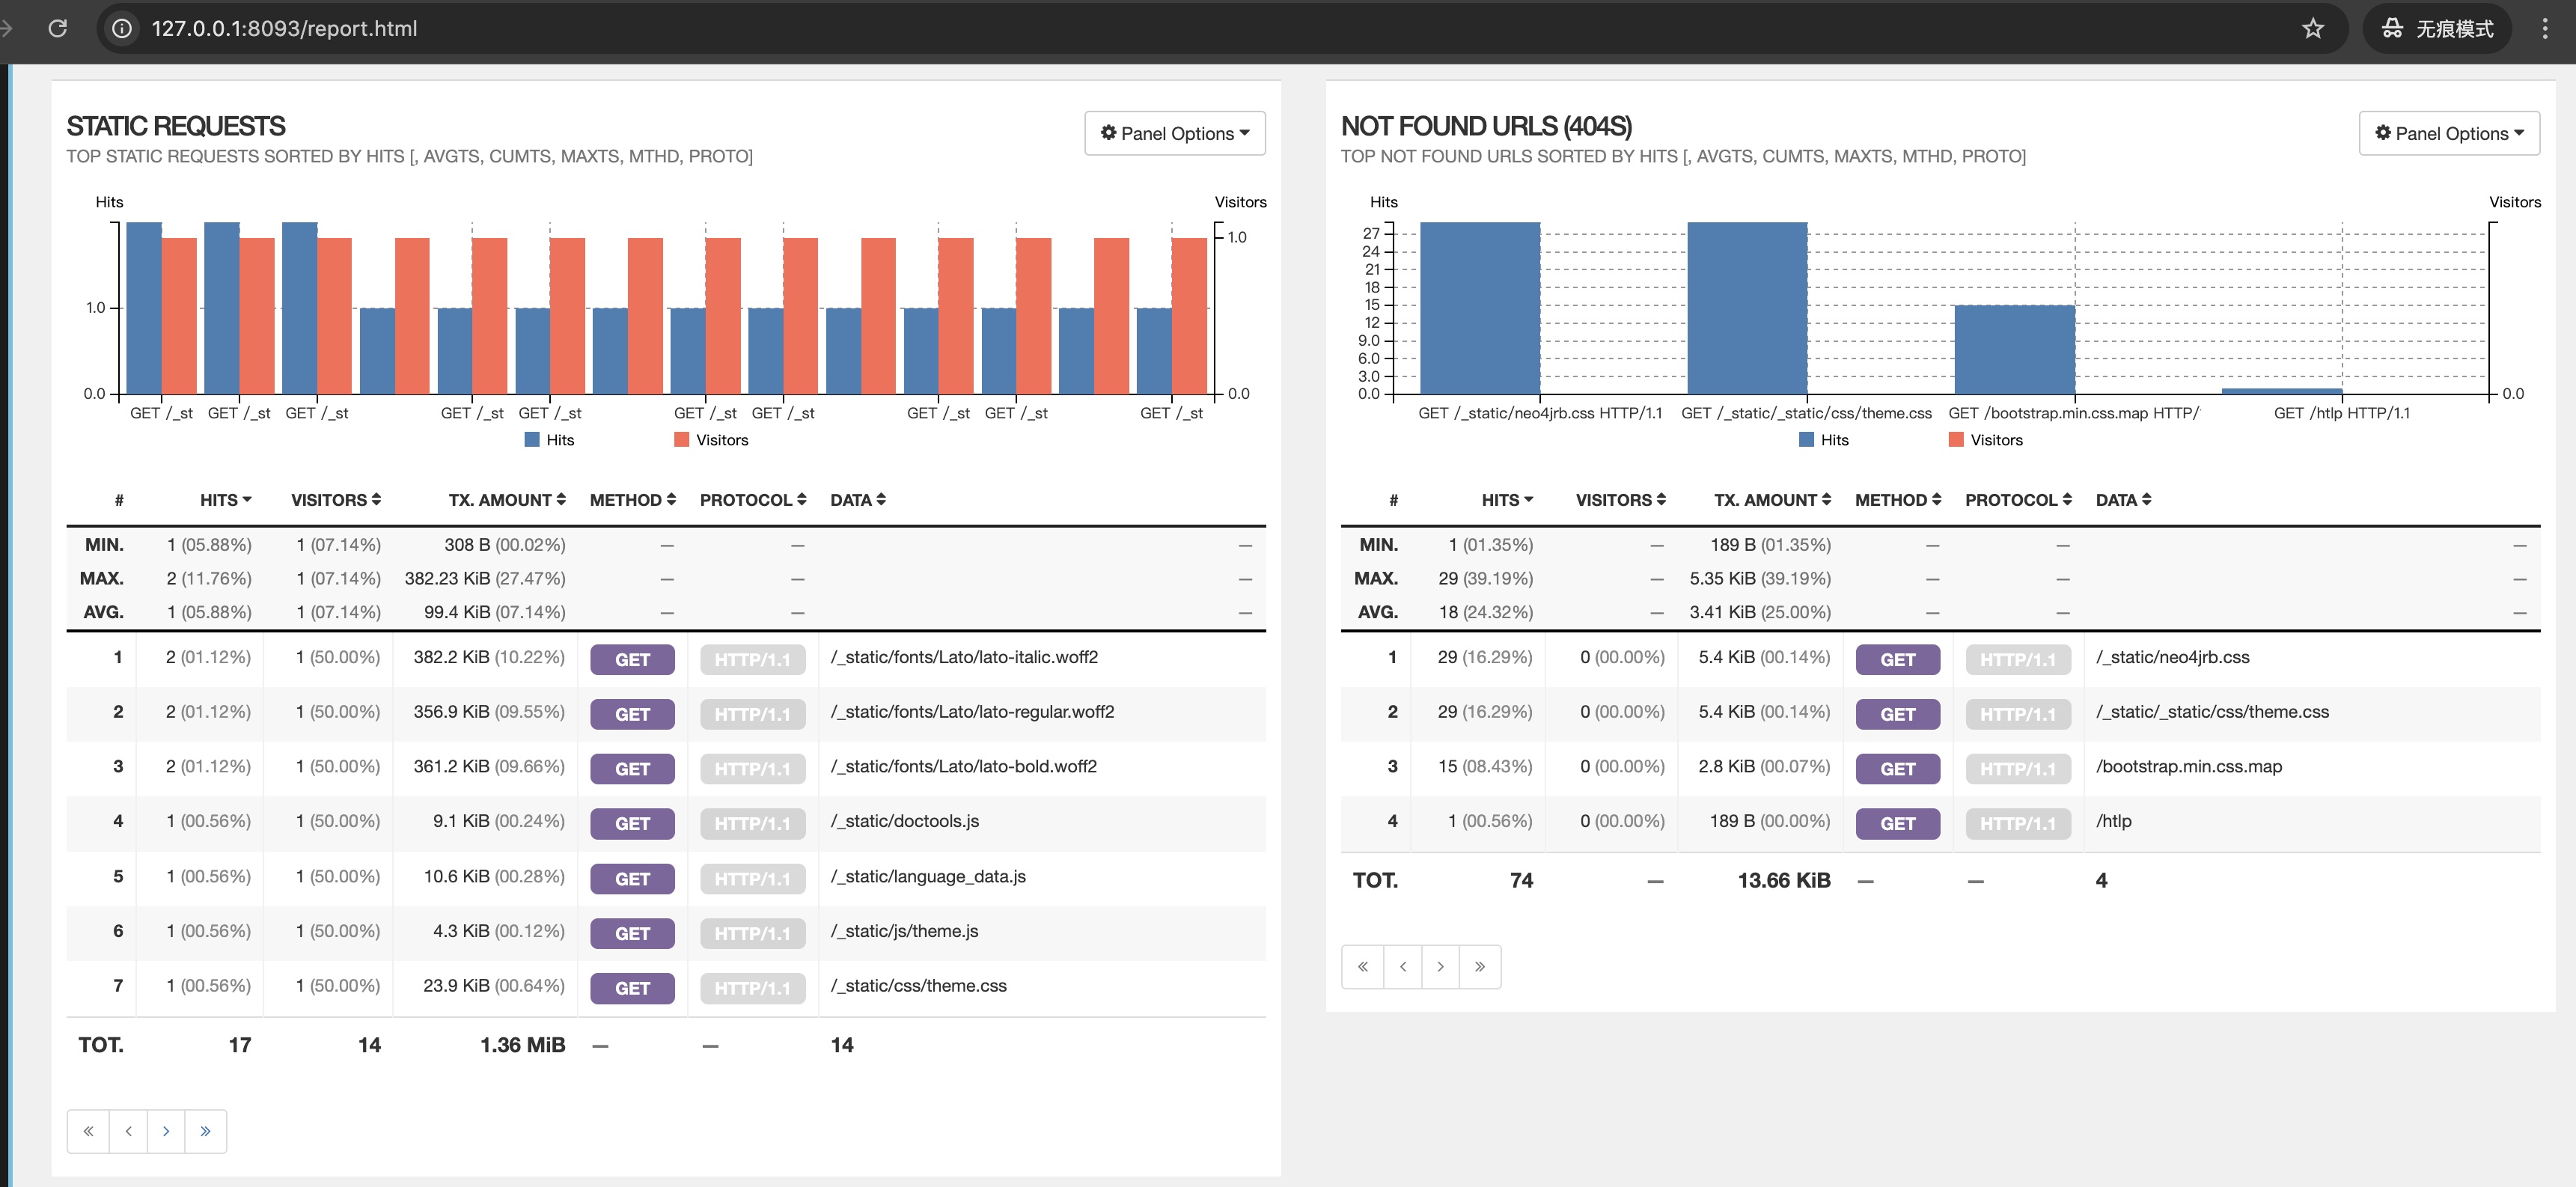
在浏览器中输入http://127.0.0.1:8093/report.html 即可以看到监控页面,有一点,在html页面上一开始可能会展示unauthorized,等过一会儿web socket就能建立成功,就可以展示页面上的指标,例如:请求命中数、请求文件url统计、静态请求数、404的url统计等。
nginx常用指令
listen指令,一个请求进入nginx之前,首先要监听端口,会用到listen指令,指令的语法有:listen address[:port]、listen port。listen *:8000; # 监听机器上的8000端口,访问ip不限制 listen 127.0.0.1:8000; # 限制ip为127。0.0.1 listen unix:/var/run/nginx.sock; # 监听unix的websocketserver_name指令,此指令后面跟多个域名时,第一个域名为主域名,有个默认配置server_name_in_redirect off(默认关闭)。在打开配置时,当需要重定向请求,但未指定域名时,则会使用主域名。server_name taohui.tech tech.nginx; # 第一个为主域名 server_name *.taohui.tech; # 泛域名,仅支持在最前或最后return和error_page指令,语法格式为:return code [text|URL],error_page指令是对错误页面的重定向,例如403转发到未授权页面。return 301 url; # 301表示永久重定向,302临时重定向,禁止被缓存 error_page 404 /404.html; error_page 403 http://example.com/forbidden.html;location指令,此指令常用于寻找配置,语法为:location url|@name支持=精确匹配和正则表达式(^)匹配路径,当没有等号时,则应用前缀匹配原则(最长匹配)。location = /Test1 { # 精确匹配 return 200 'exact match'!; } location /Test1 { # 前缀匹配,同时满足时,优先精确匹配 return 200 'prefix string match!'; } location ^~/Test1/ { # 正则表达式匹配 return 200 'regular expression match!'; }access阶段指令,其中包含allow和deny,上下文作用于http、server、context,表示允许或禁止某些指令访问。deny 192.168.1.1; allow 192.168.1.0/24;content阶段的指令,root和alias指令,它们之间的区别:root会将完整url映射进文件路径中(root路径+location路径),alias之后将location后的url路径映射到文件路径。location /root { # curl请求http://127.0.0.1:8093/root时,对应静态资源路径为:html/root/index.html root html; } location /alias { # curl请求http://127.0.0.1:8093/alias时,对应静态资源路径为:html/index.html alias html; }